
Remember when we would joke, “take a pic or it didn’t happen!”? Well when it comes to documenting your artwork, it is actually true. For your coursework at Young Guns Academy, you will be responsible for documenting your 2D and 3D art.
You don’t need to have professional grade camera or lighting gear to start your documentation process. Just refer to the guidelines outlined below and you’ll be off to a great start!
STARTING OUT
If you don’t have your own camera, use your smartphone, they have great cameras these days.
Throughout the process, you may think that fixing the photos through an editing app is the way to go but you’ll save tons of time by getting the setup right.
- If your piece is a photograph or print, rather than photographing it, use the digital version
- Make sure the work is clean and free of wrinkles (if lying flat)
Three things to consider when thinking about setup:
- Lighting
- Angle of Camera to Work
- Composition
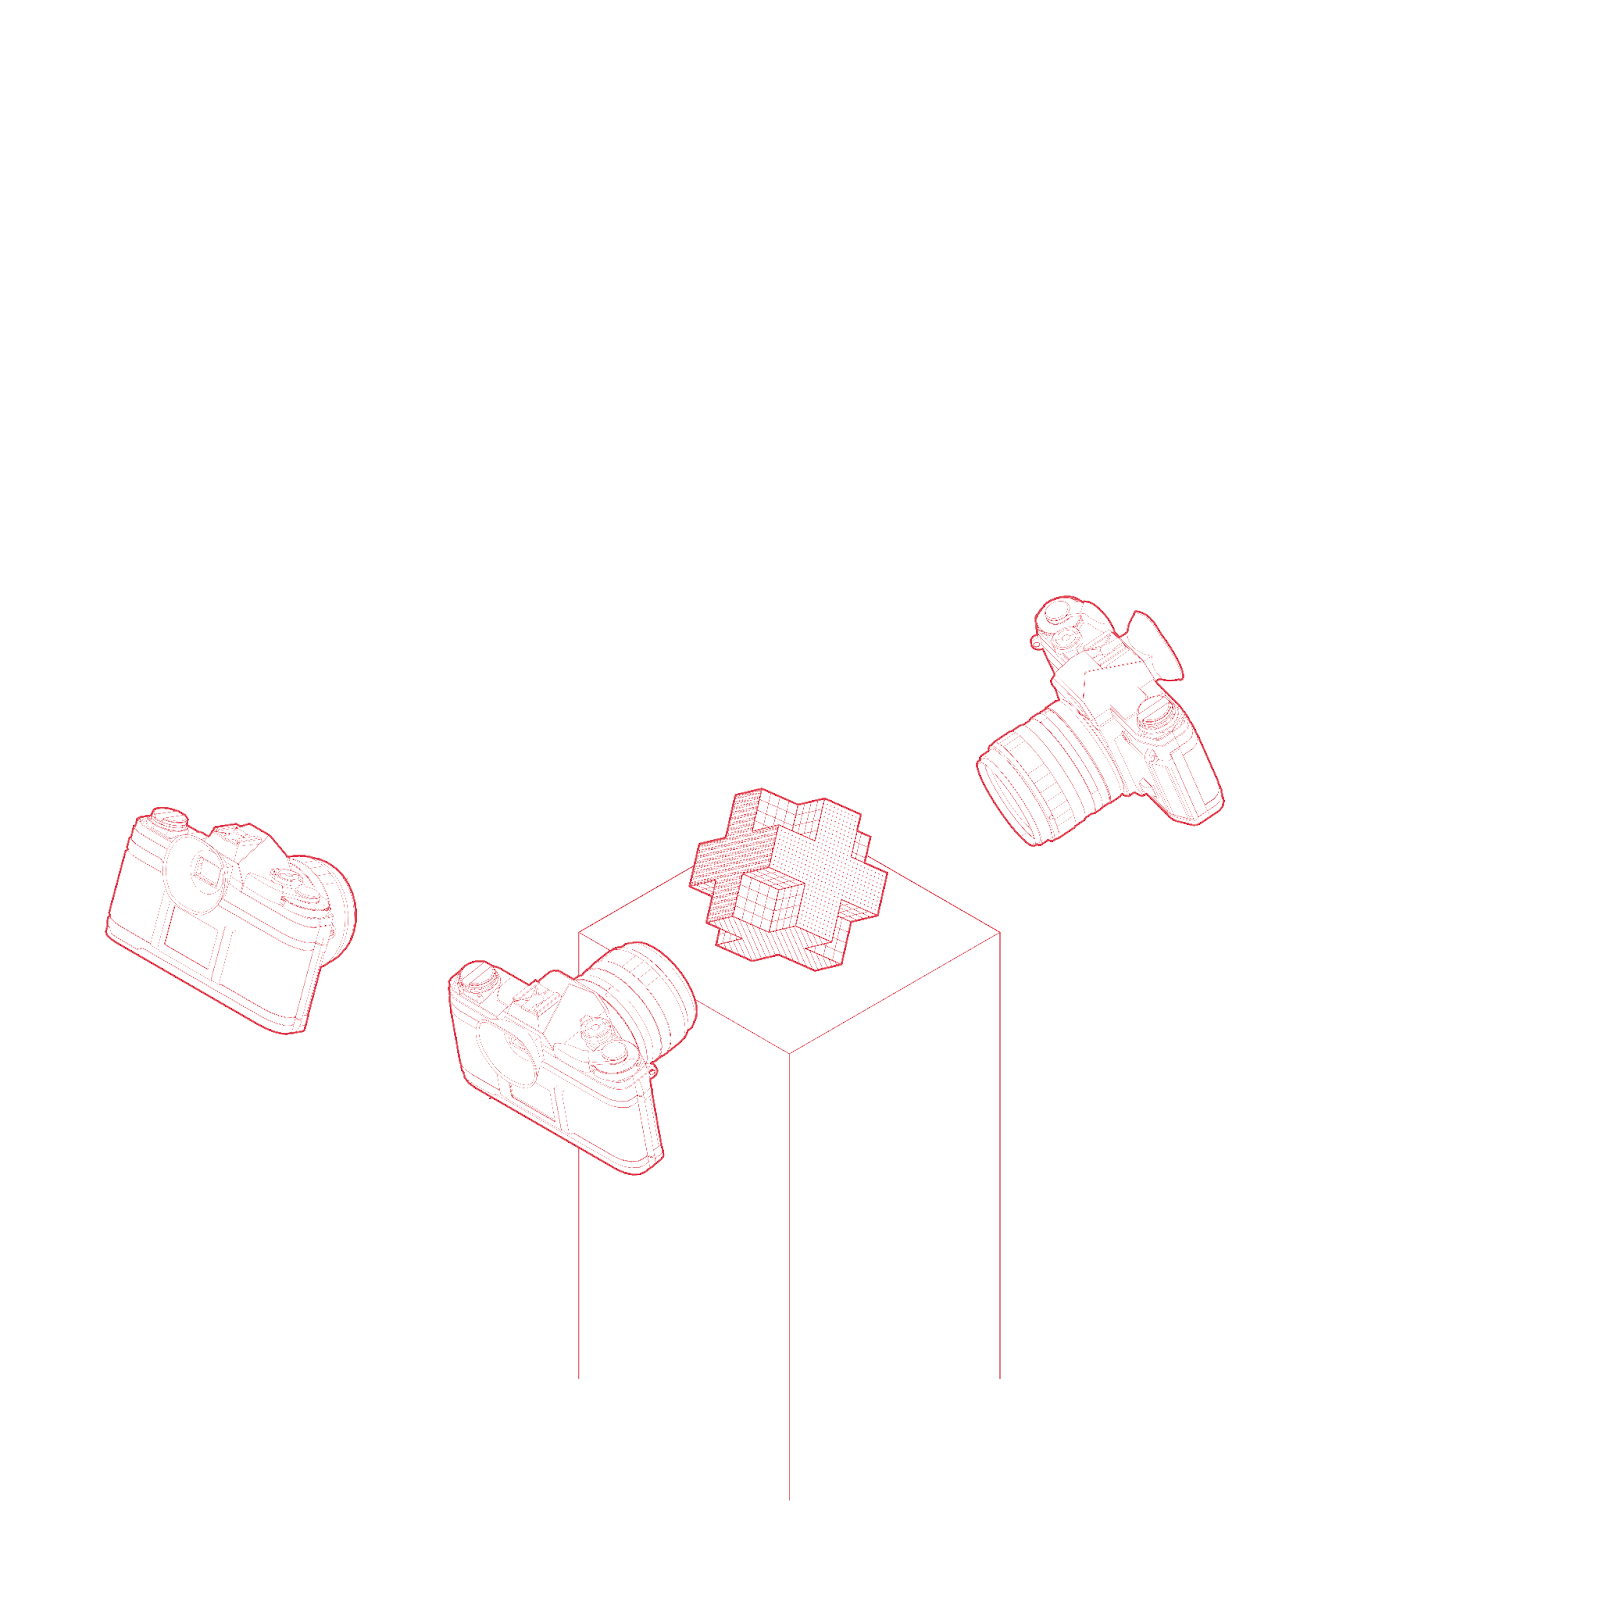
For three dimensional works – use the 3 image rule. This means you can take tons of photos, but you will need to narrow it down to 3. This forces you to be intentional with the types of photos you are taking.
LIGHTING
It is best to document in natural light to allow for the image to closely resemble how the piece looks in person. The sky (preferably cloudy sky) is your best soft box.
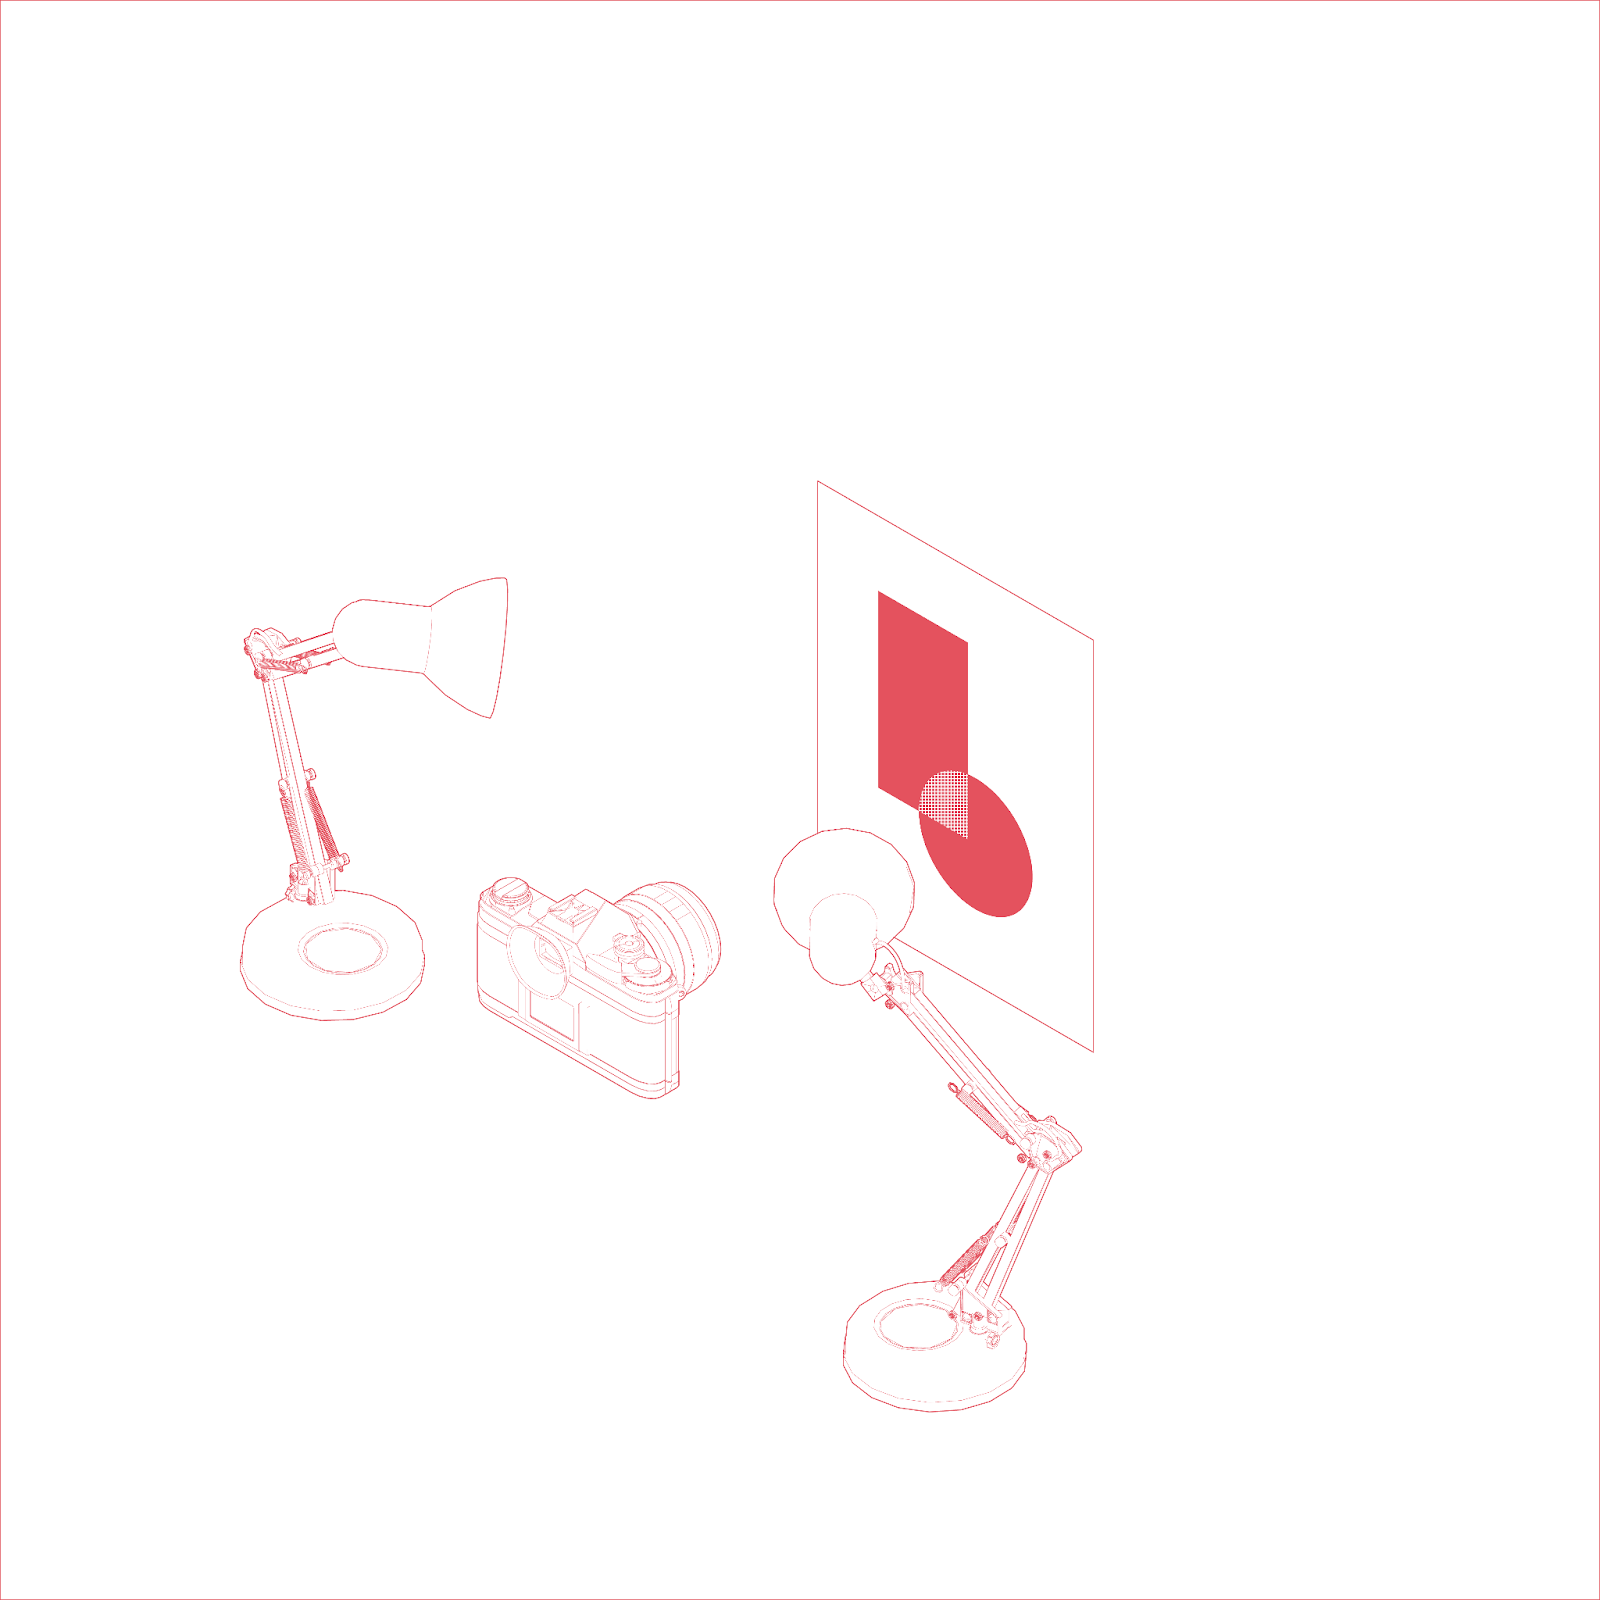
If using artificial light (lamp or ceiling light), it’s best to find a light source that is as soft as possible and floods, or covers, the artwork as evenly as possible.
Do your best to avoid glares or reflections of light that can overexpose an area of your work. This can be fixed through editing but it will be a lot more time consuming.
Tips for documenting in natural light:
- Select a room with plenty of window light or bring the work outside!
- Avoid using overhead lights for added illumination (often they are different colors than natural light and can skew your documentation or create distorting shadows)
- Position your work directly opposite the light for the most even coverage—if you want to highlight texture, position the work askew from the window
- Be aware of anything reflective on or near the piece and how that may photograph
CAMERA
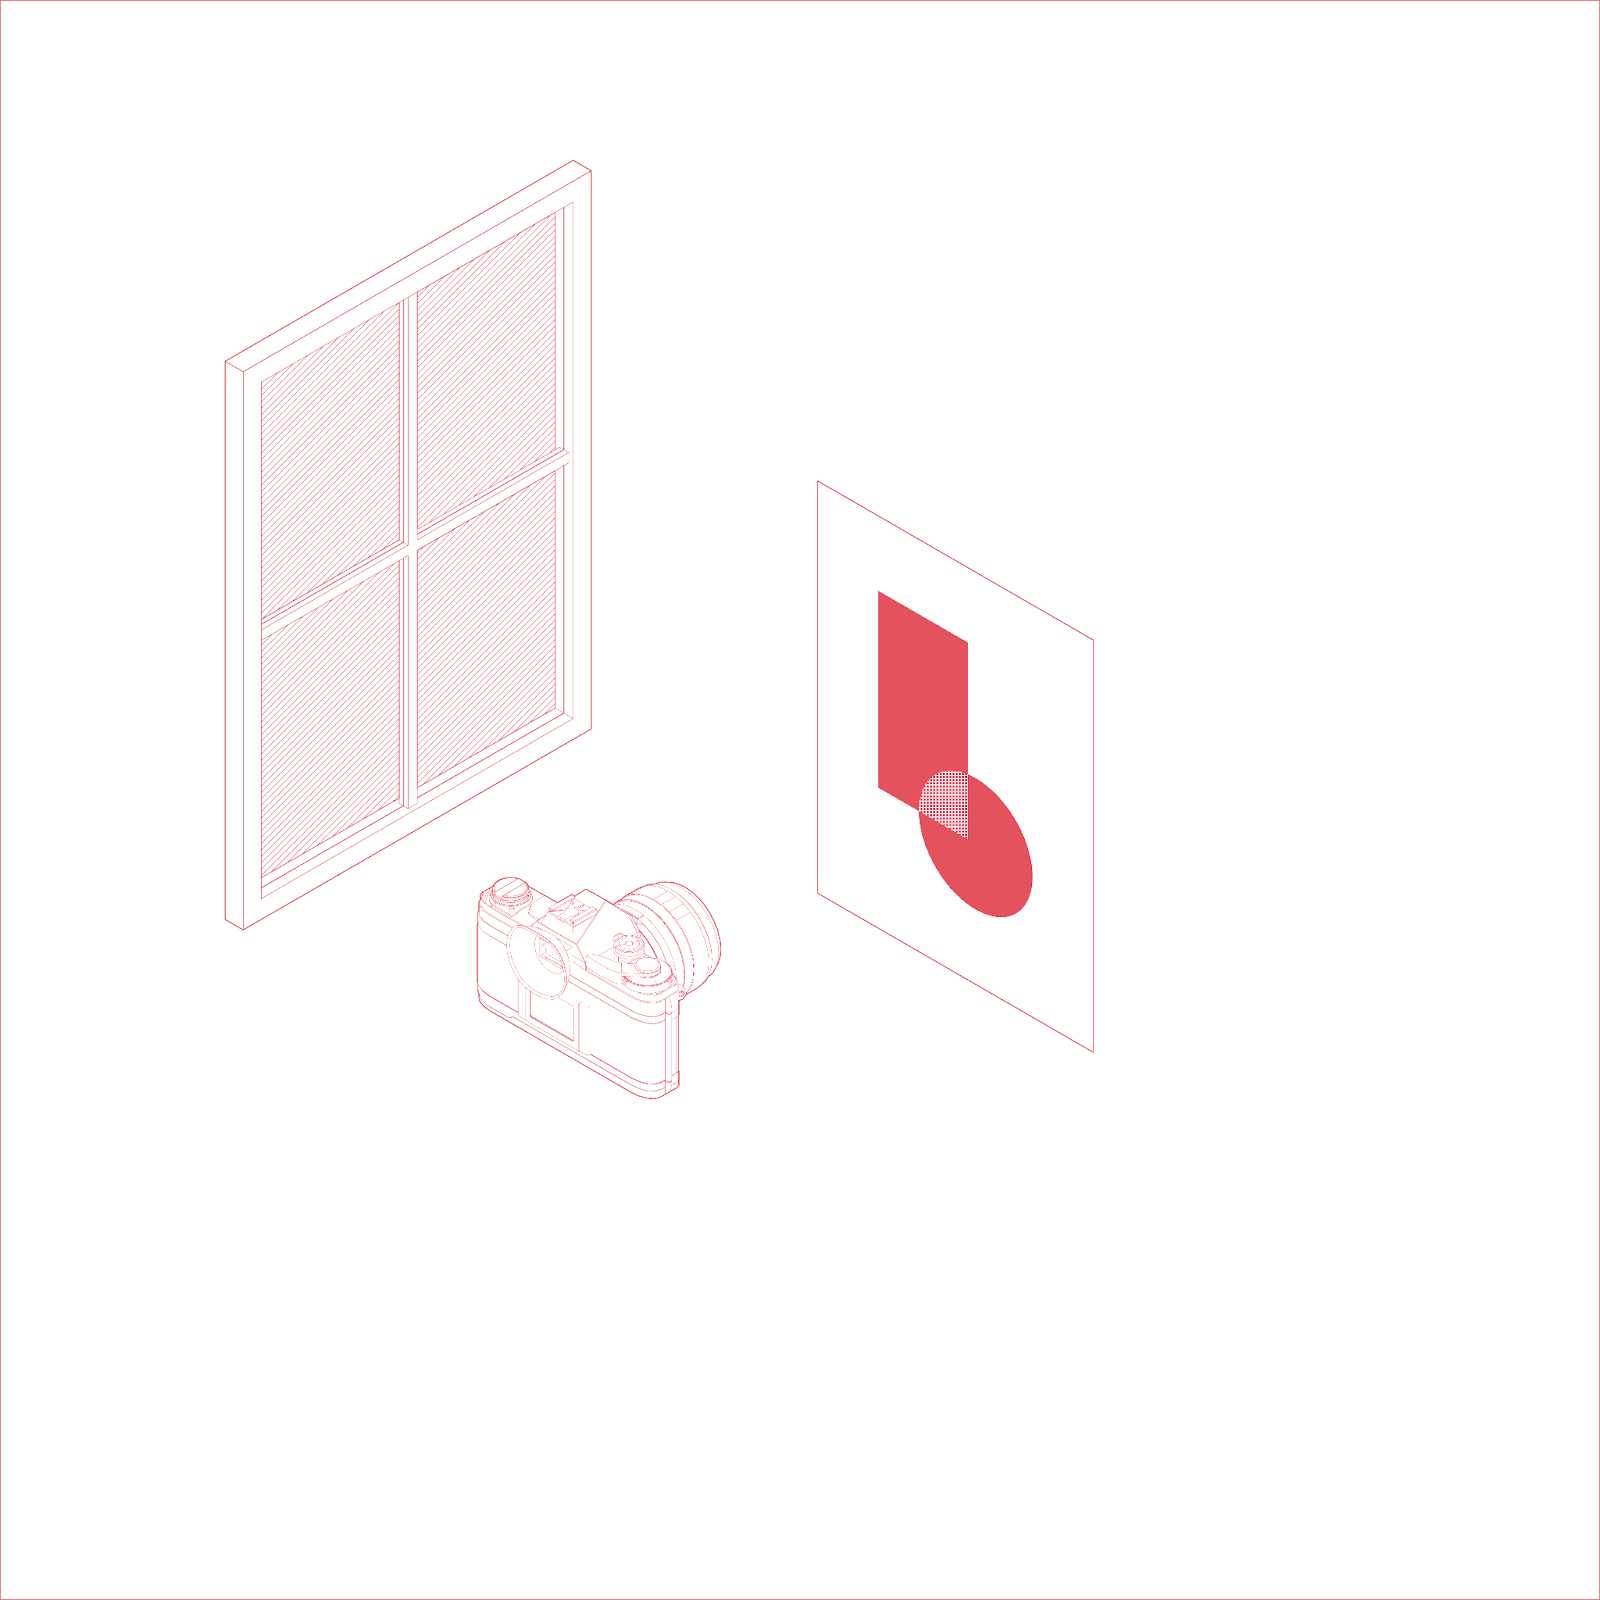
Be aware of perspective. It’s important to have your camera perfectly parallel and centered on the work like below.
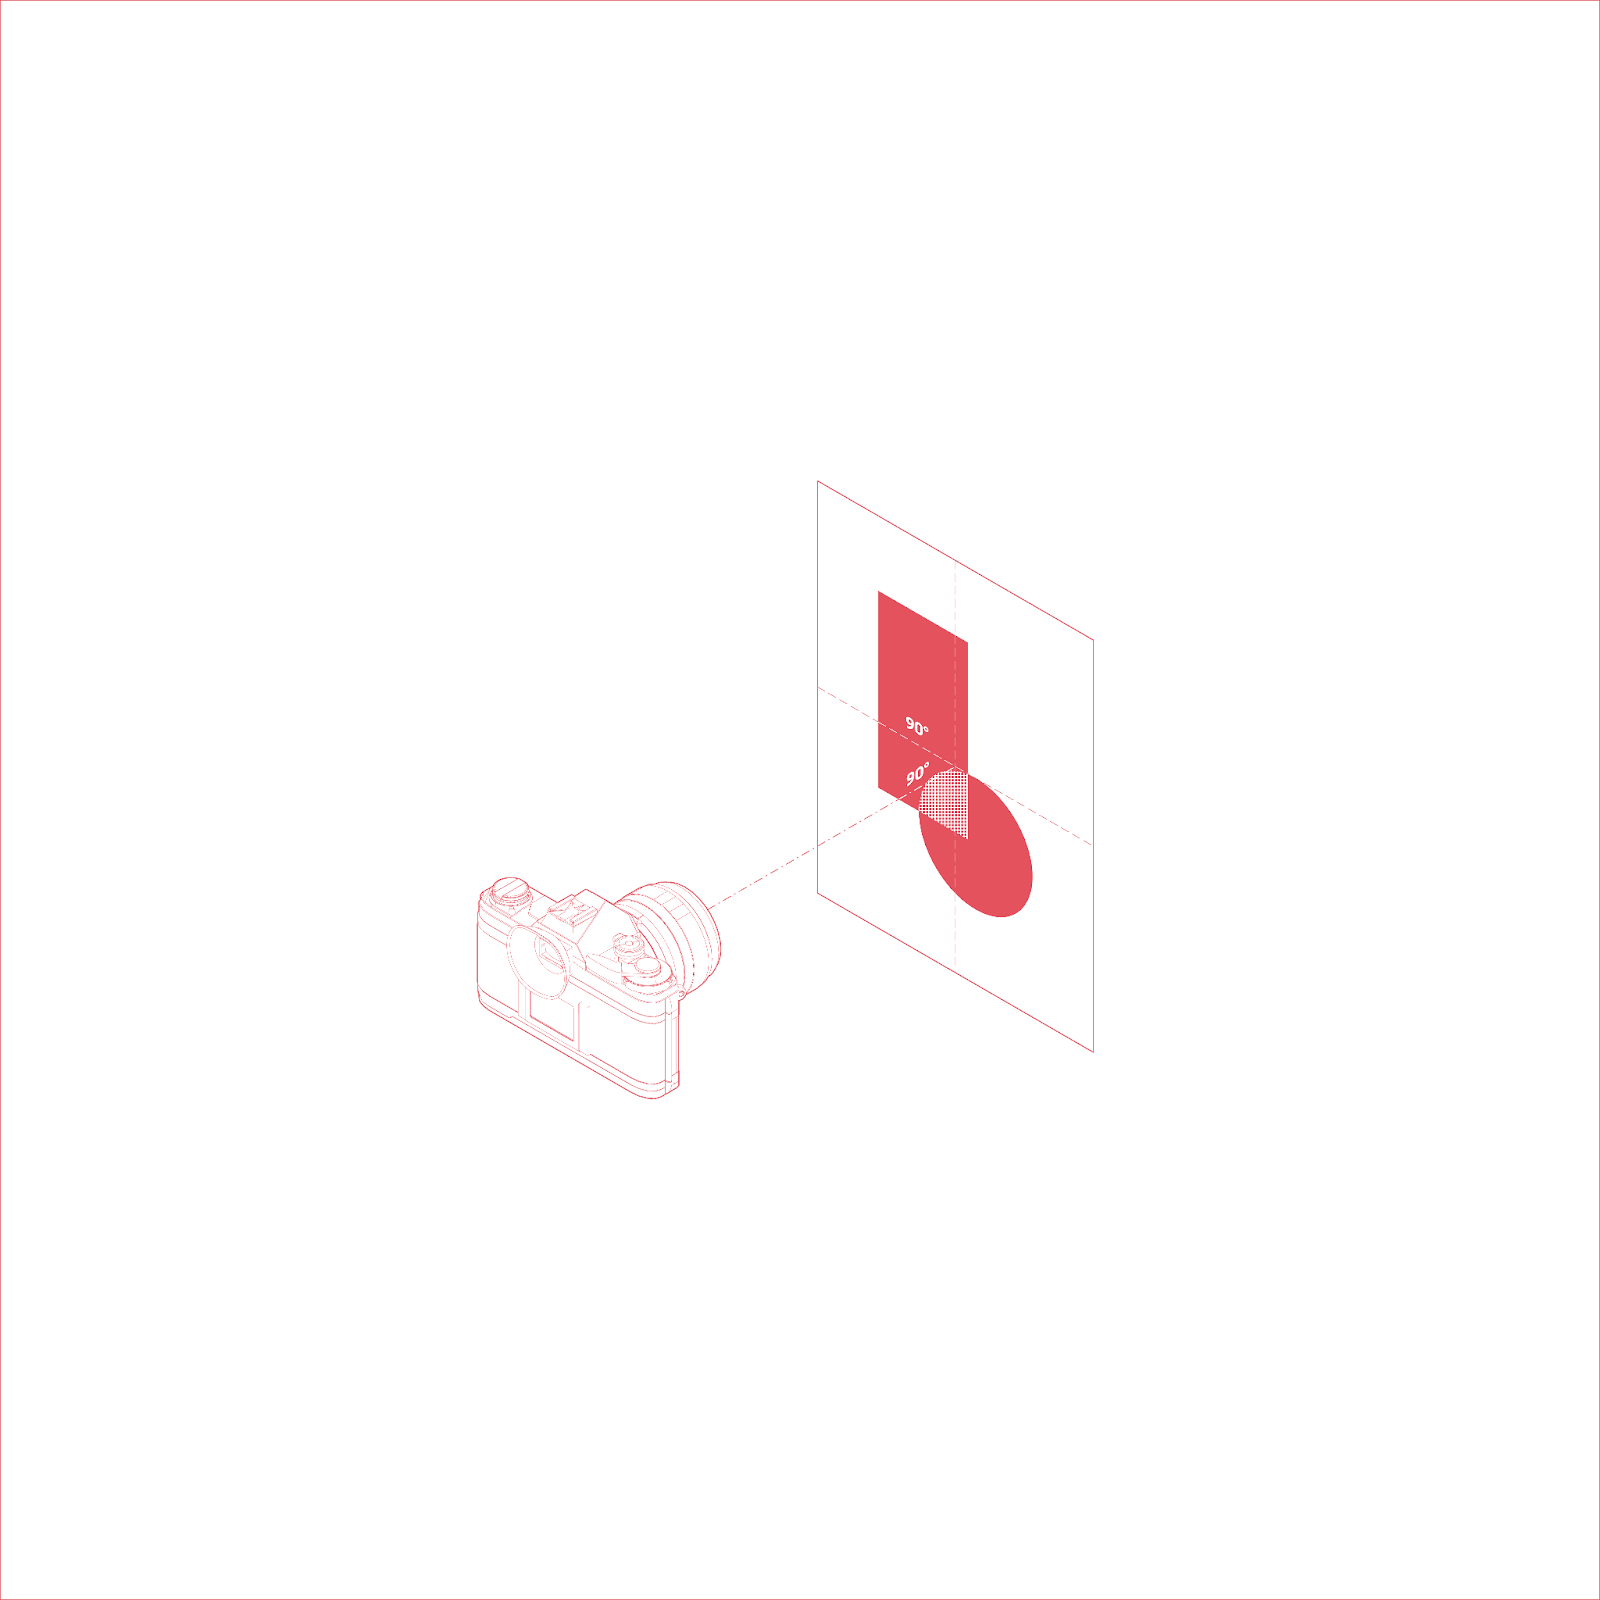
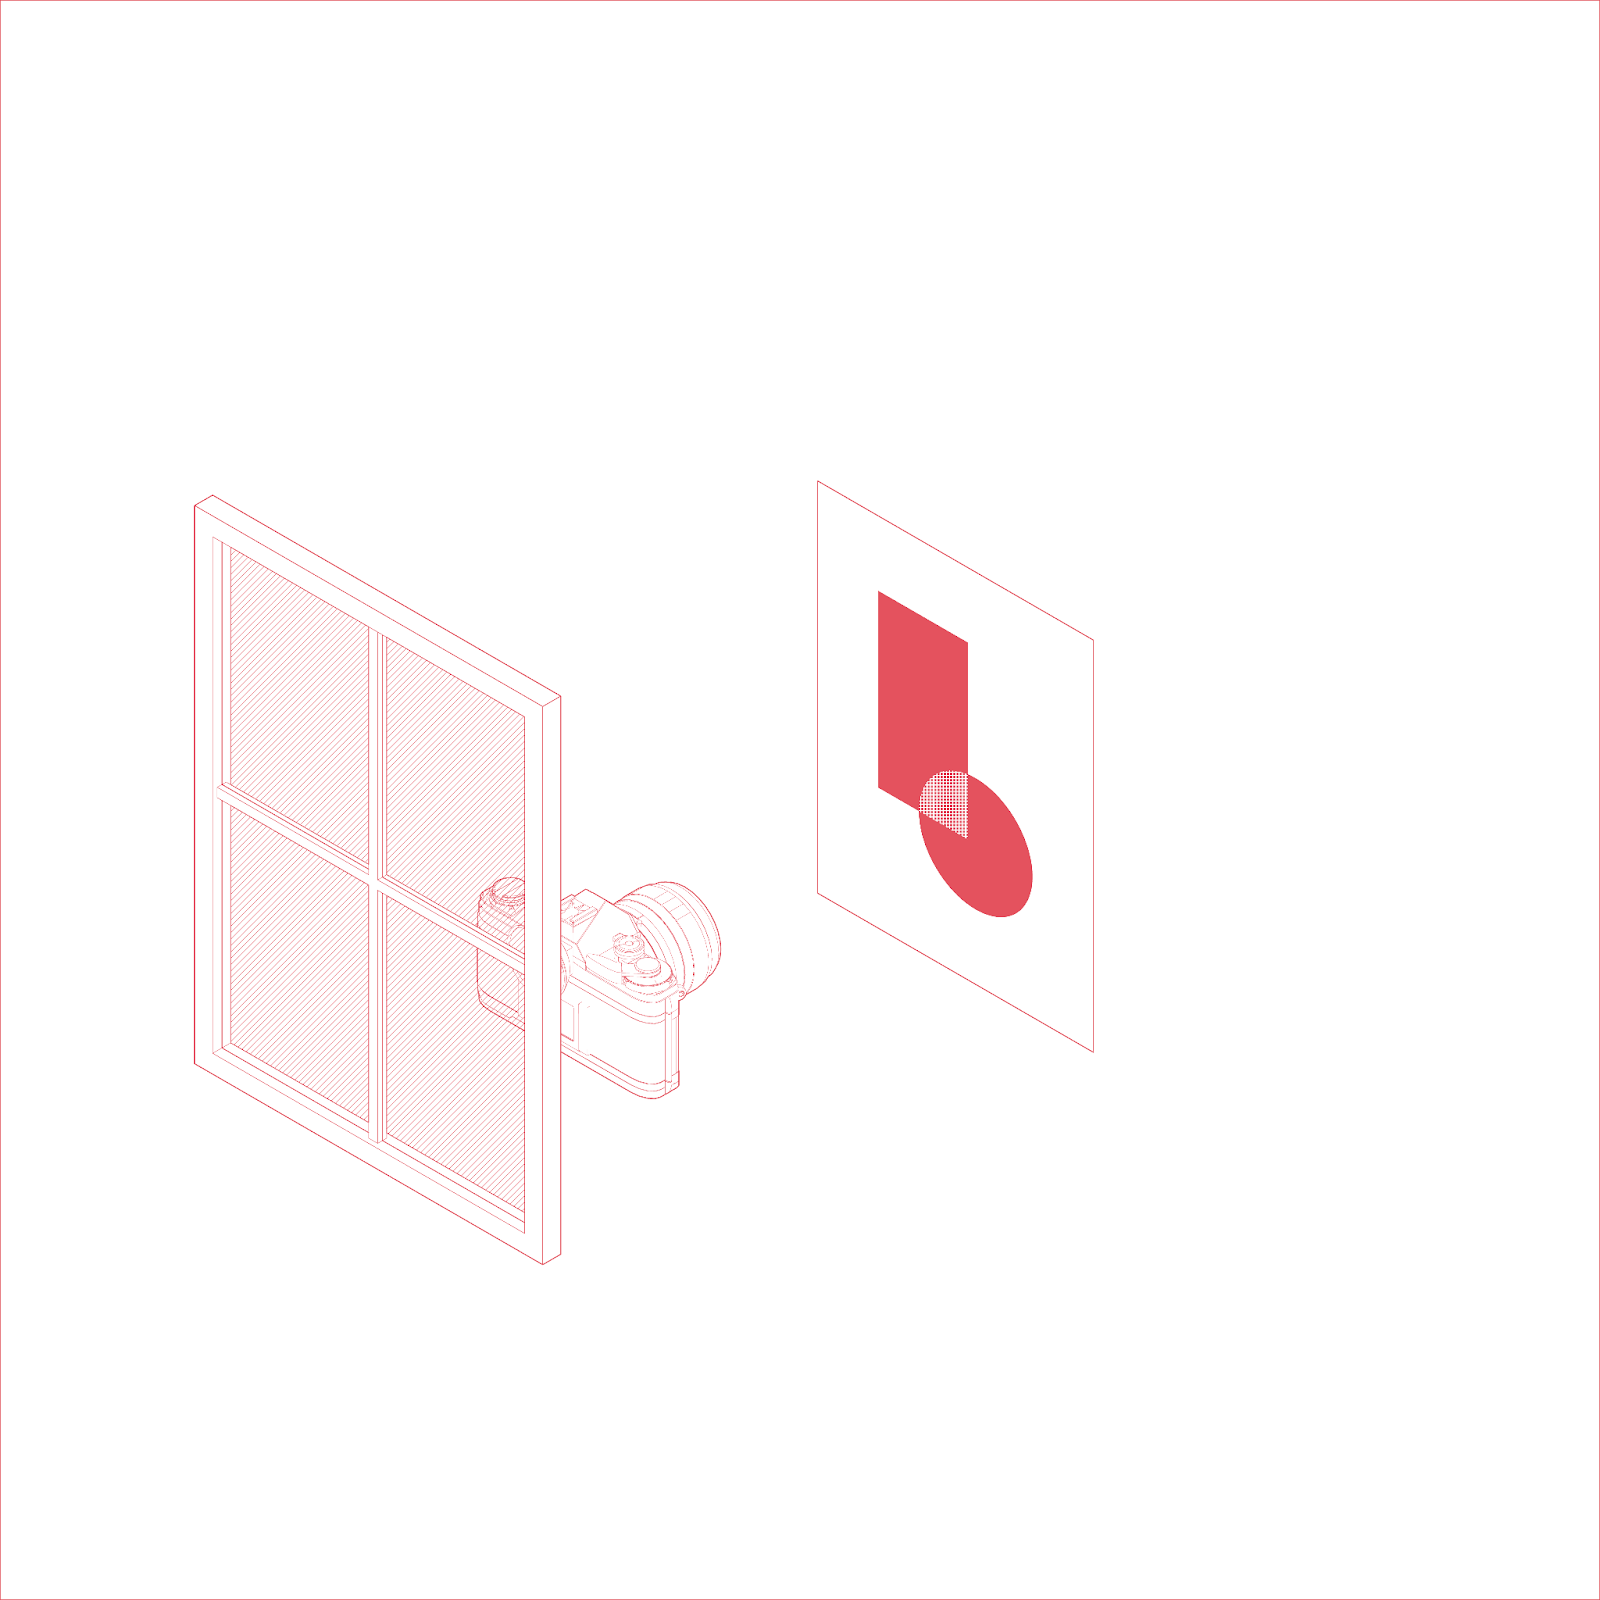
Although if your piece has specific texture or three-dimensional elements, it may be beneficial to document from an angle. Like this:

When photographing your work please make sure to take these 3 shots:
1. Wide (Establishing shot that helps the viewer understand the project as a whole)
2. Medium (One other angle of your work that are not covered through the wide shot)
3. Detail (Specific moment of your sculpture that needs to be highlighted)
EDITING
Once photographed, make simple adjustments through editing on your phone or computer. Your smartphone will have editing capabilities or you can download a free editing app such as VSCO.
For editing on your computer, you can use the built-in image preview software for small edits or free online editing programs, no need to use programs like Photoshop unless you already have it.
Two components of editing to focus on:
- Straighten & Crop (sometimes images are skewed when photographed)
- Color Adjustment (exposure, contrast, saturation, etc.)
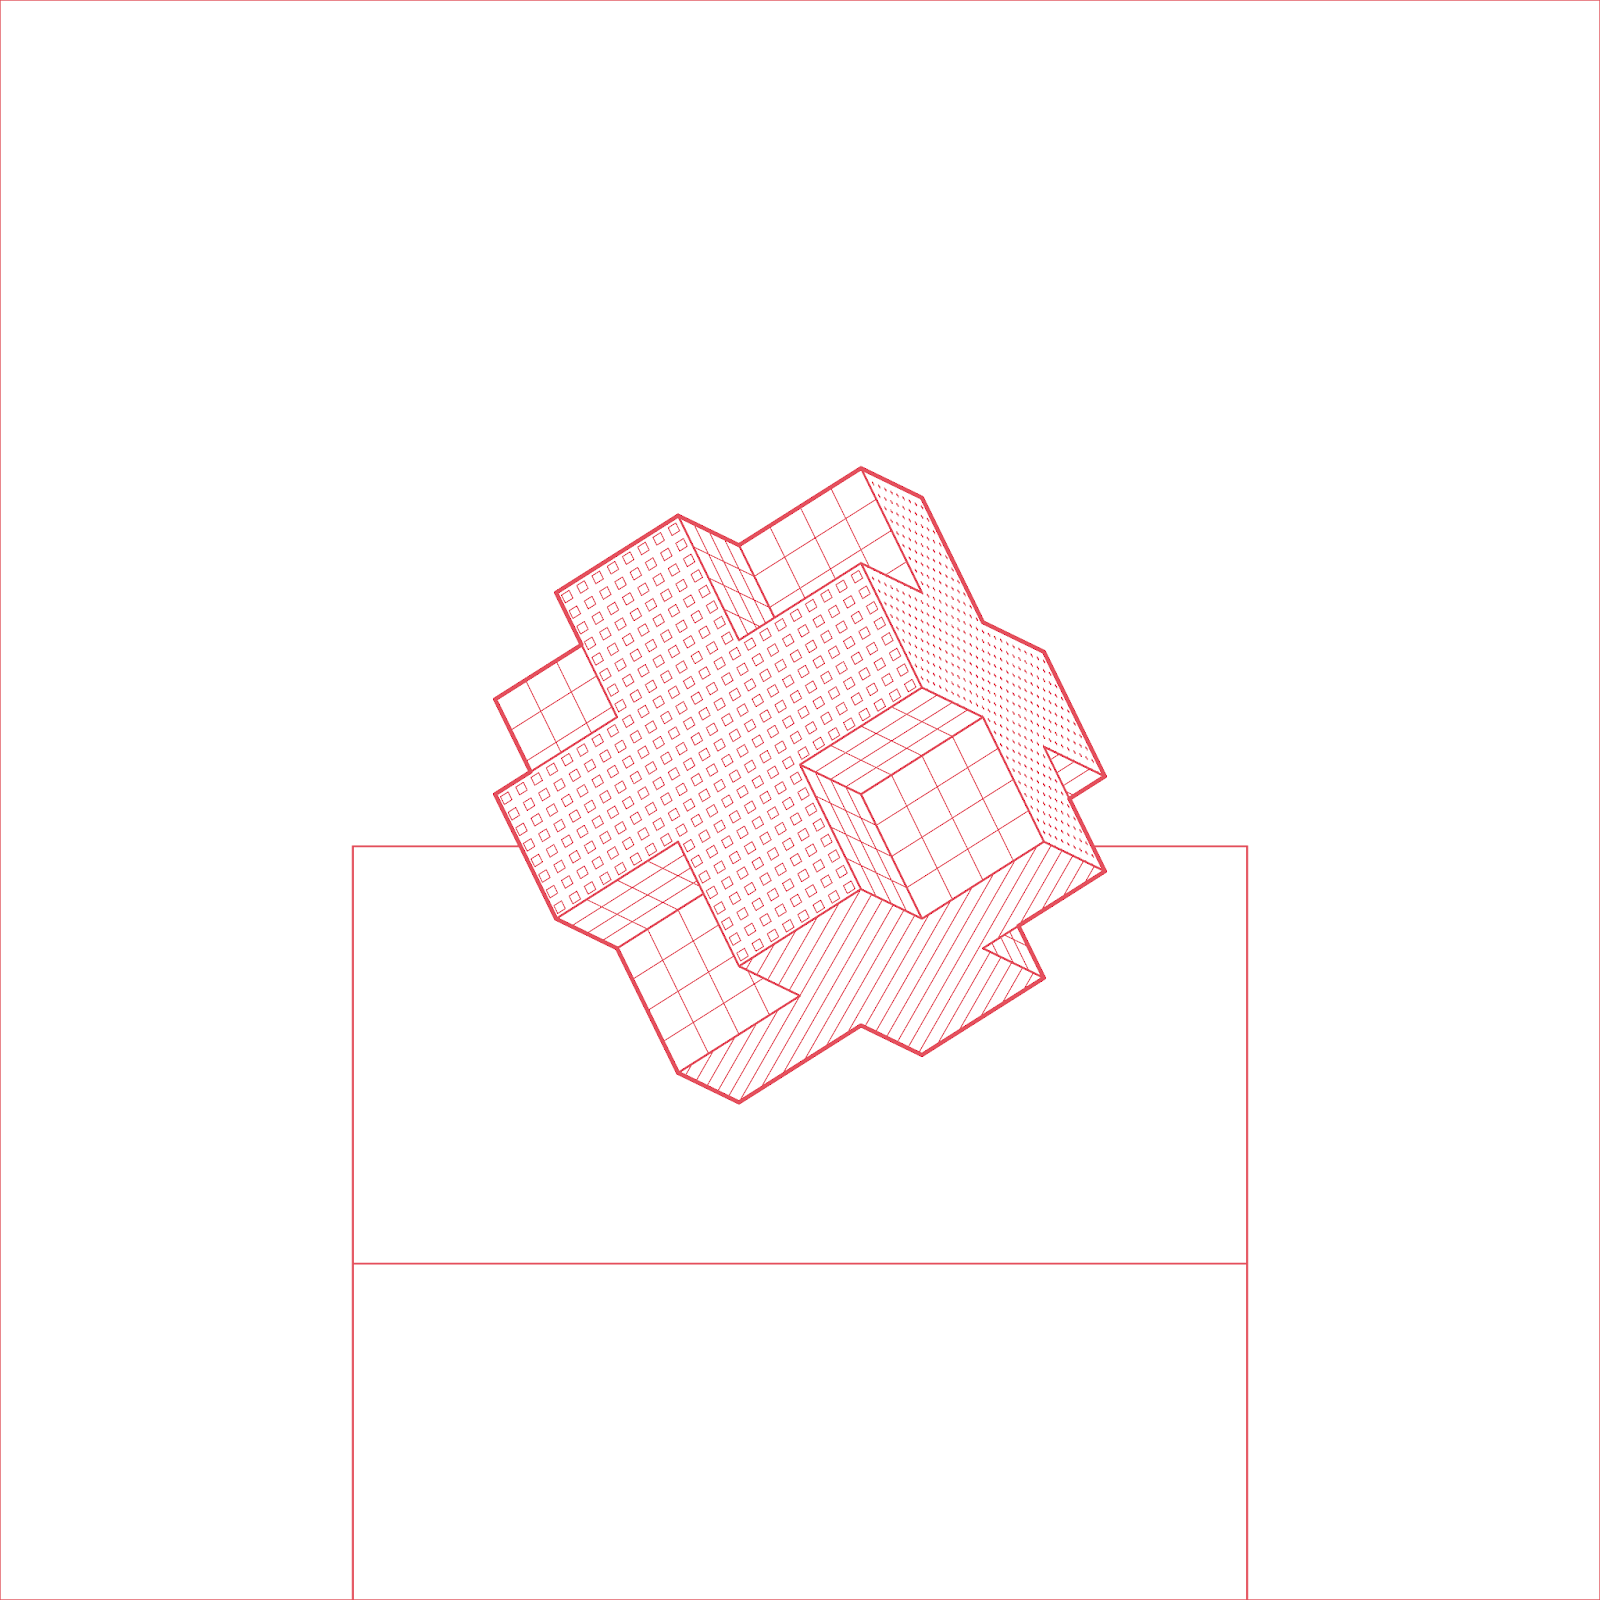
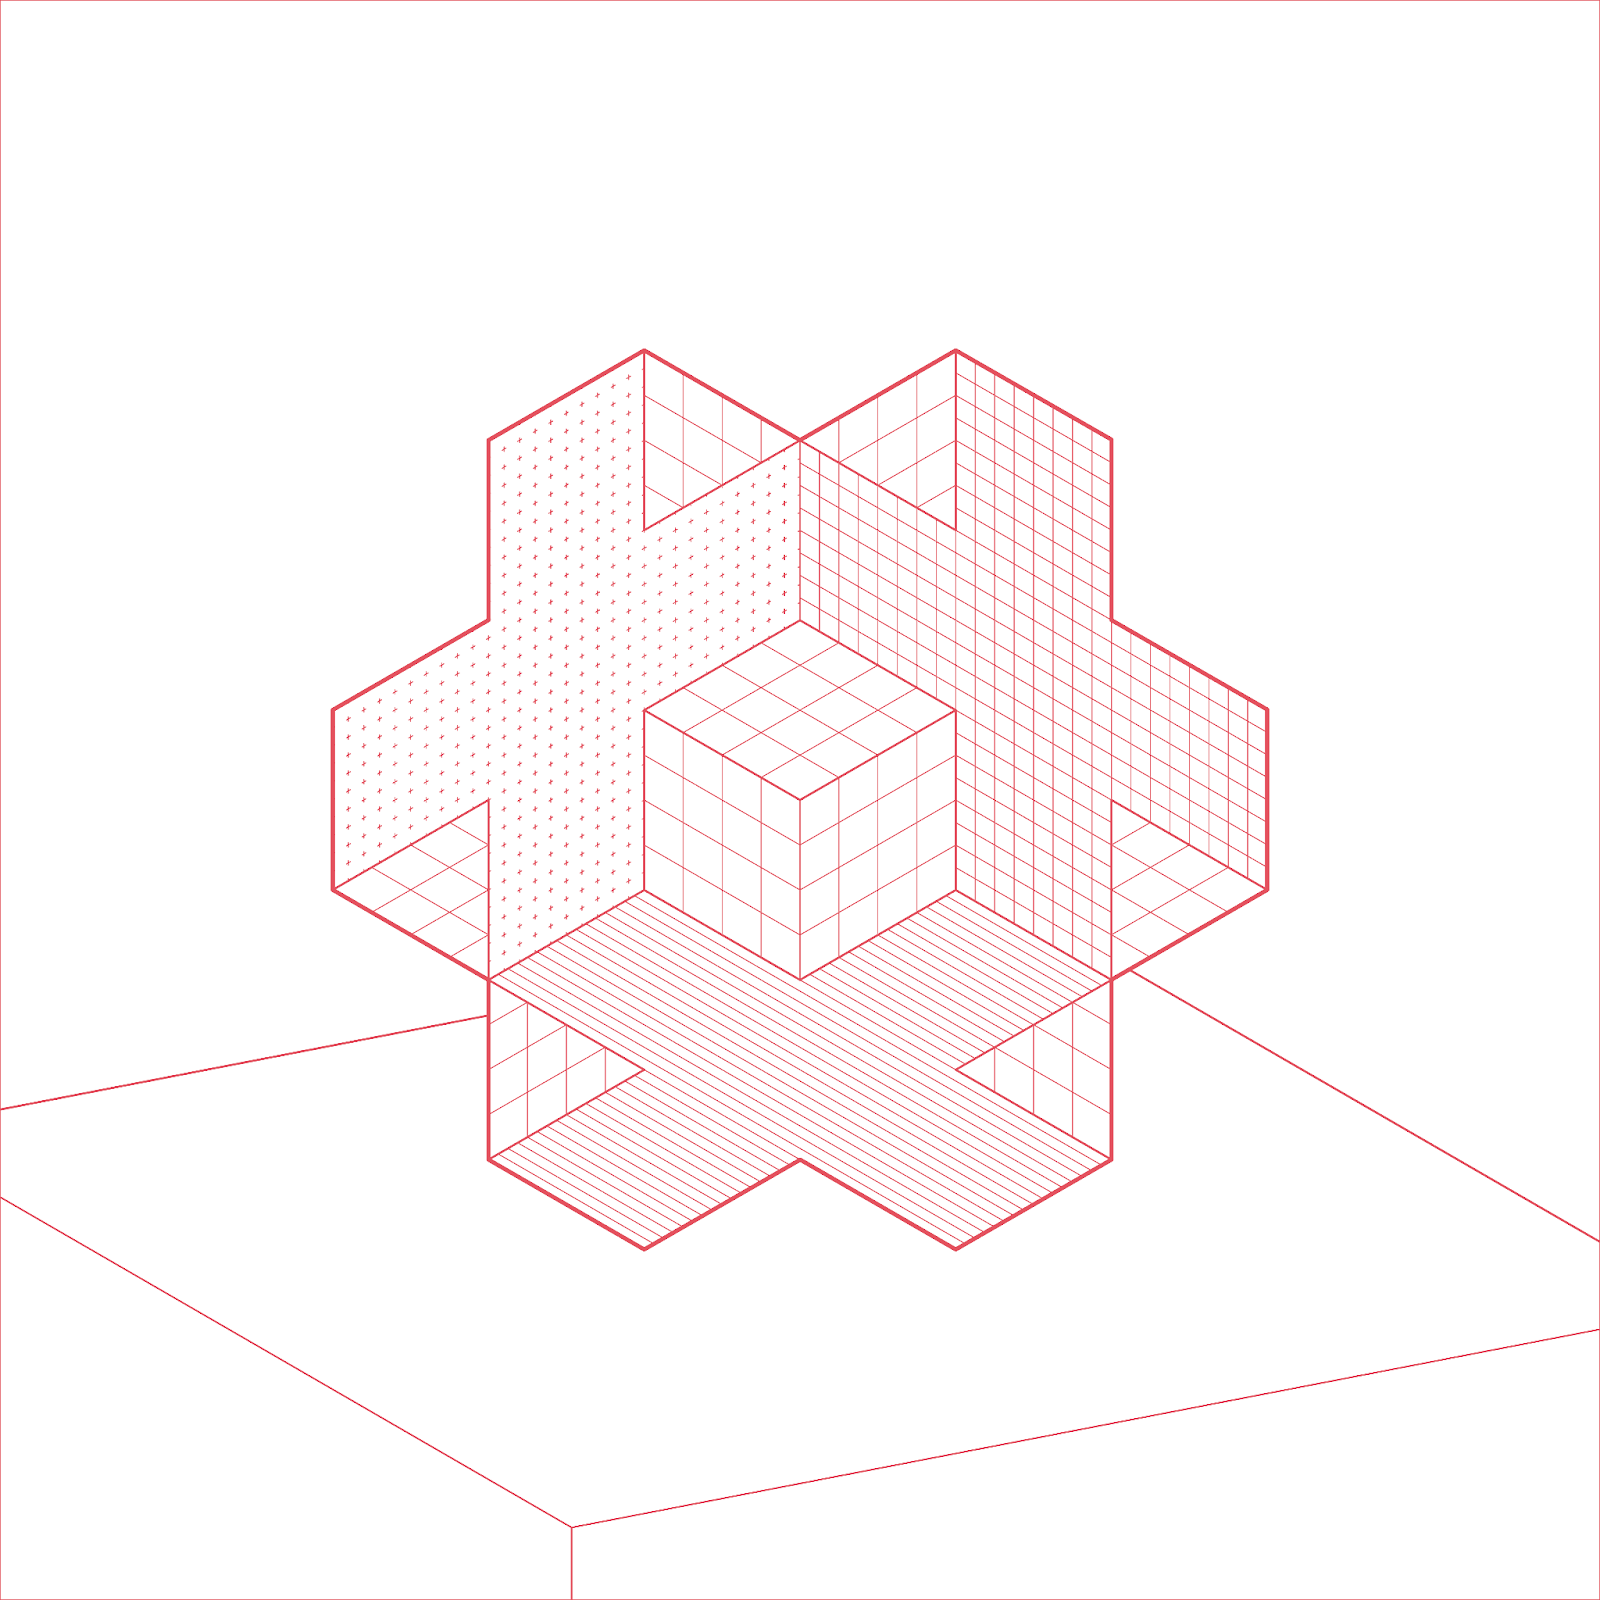
STRAIGHTEN AND CROP
If you’re documenting your piece, crop the image to the edges of the piece so as not to see the surface it is being photographed on.
Like this!
COLOR ADJUSTMENT:
- Exposure: In general, more light is better than less. However if your work is high contrast (bright highlights & dark shadows) this may be challenging. Choose the most important part of the work and adjust for that. Make sure the lighting is even across the entire piece and there is information in the highlights, shadows, and midtones.
- Saturation/Color: Depending on your light source, the light may change the color of your work when photographed. If you’re in an area with multiple light sources, you may need to adjust the saturation and white balance using your editing tool. Saturation will allow for the colors to be true to the artwork with slight adjustments. When you’re correcting white balance, you want to make sure that all your colors are true to their form and your whites are looking white.
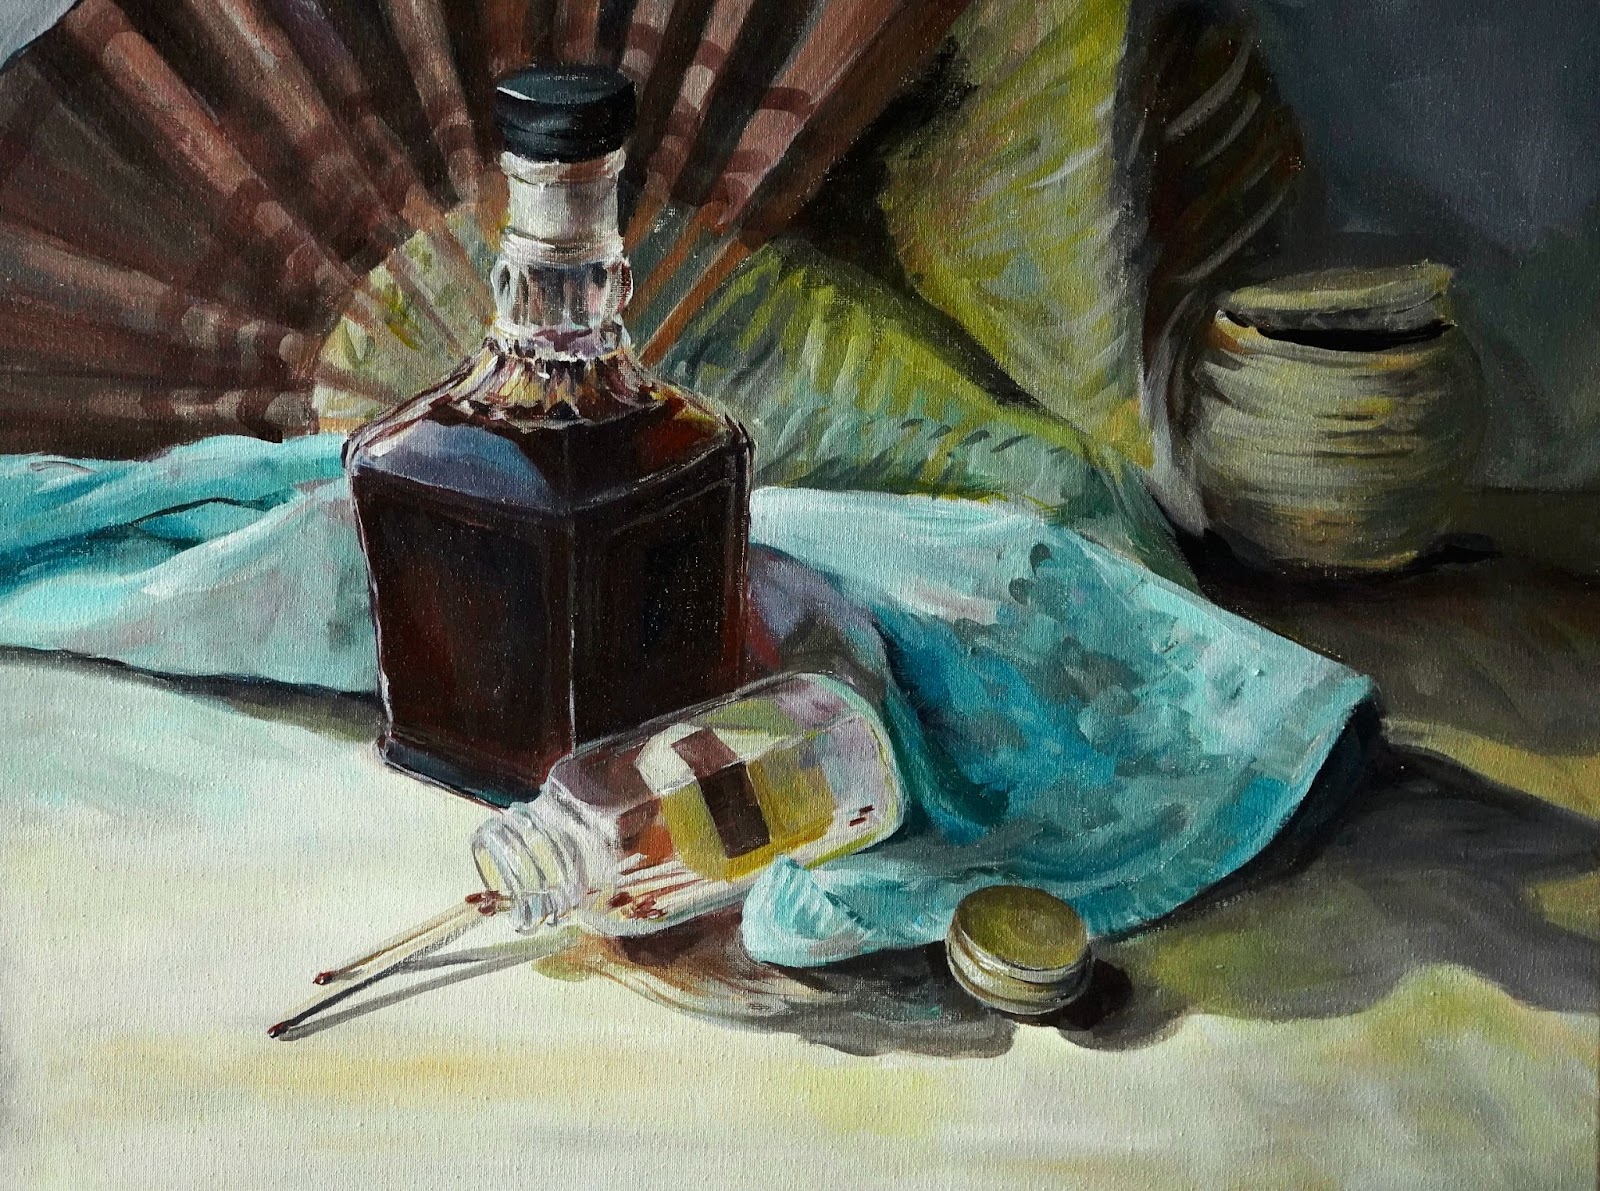
Exposure:


Sabrina Wu, YGS Graduate 2022
Saturation and Color:

Looking forward to seeing your documented pieces!